


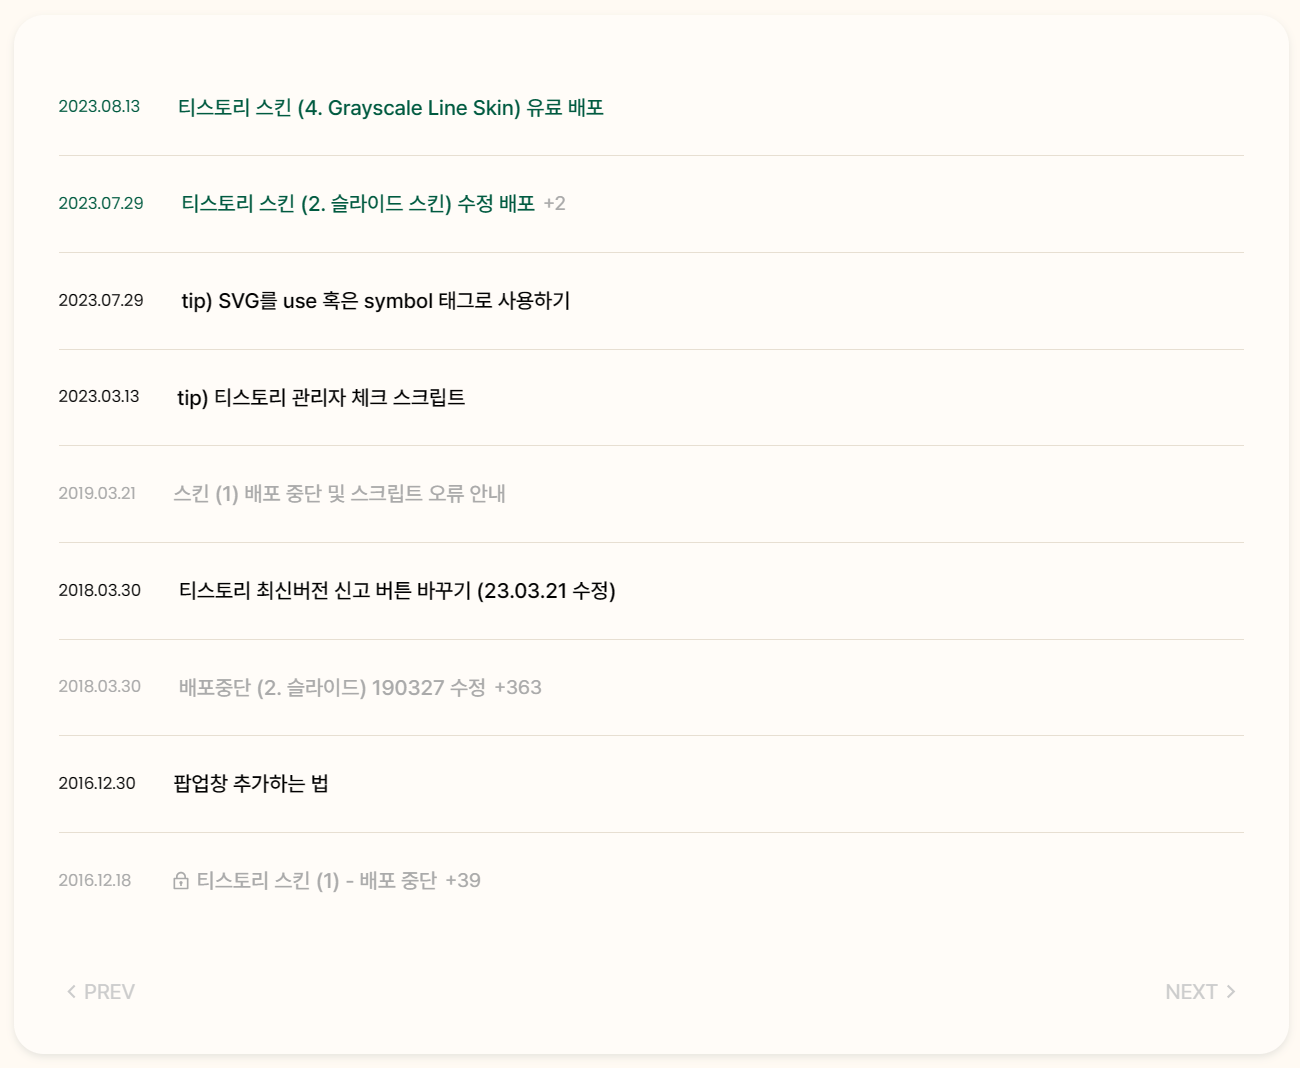
| 특정 글만 색깔 넣는 기능
위 사진처럼 특정 글만 색상이 변하게 하는 기능 추가하기 (별 거 없음)
해당 글의 주소만 있으면 됩니다.
※ 단, 관리자 화면에서 포스트 주소를 숫자로 설정해 주세요.
| 설정
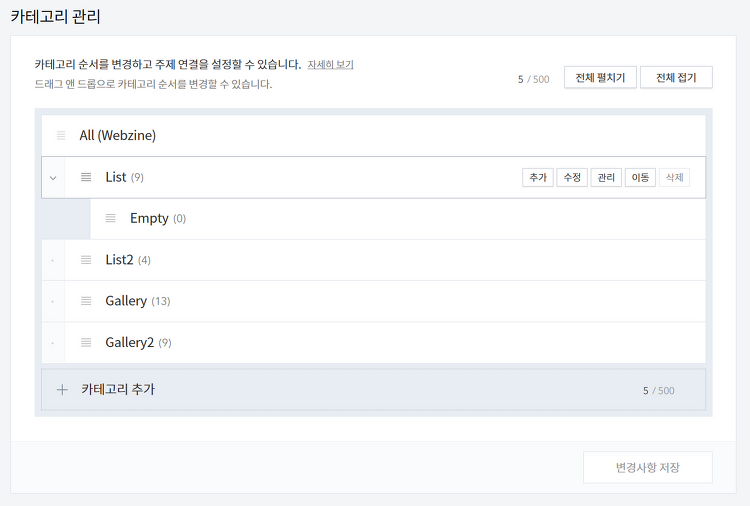
관리자 화면 > 관리 > 블로그 > 주소 설정 > 포스트 주소를 []로 설정합니다.
1. 카테고리 페이지에서 변경하기
/* a태그 1개 */
<a href="/218" class="list-item">
	<div class="list-info">
		<div class="list-title">
			티스토리 스킨 (4. Grayscale Line Skin) 유료 배포
		</div>
		<div class="list-date">
			2023.08.13
		</div>
		<div class="list-sum">
			스킨 수정 가능 | 재배포, 재판매 금지 | 카피라이트 삭제 금지...
		</div>
	</div>
</a>
이게 대충의 레이아웃인데요 필요한 부분은 a href="/218" 부분입니다.
.list-item[href="/218"] { color:red; }이런 식으로 a태그에 [href="/218"](글 번호) 속성을 넣어서 color를 지정하면 됩니다.
응용 가능, font-weight, background 등등
/* a태그 여러개 */
<div class="list-info">
	<a href="/218" class="list-title">
		티스토리 스킨 (4. Grayscale Line Skin) 유료 배포
	</a>
	<a class="list-date">
		2023.08.13
	</a>
	<a class="list-sum">
		스킨 수정 가능 | 재배포, 재판매 금지 | 카피라이트 삭제 금지
	</a>
</div>
:where(.list-title, .list-date, .list-sum)[href="/218"] { color:red; }a태그가 여러 개라면 이런 식으로 작성해 주시면 됩니다.
https://developer.mozilla.org/en-US/docs/Web/CSS/:where
:where() - CSS: Cascading Style Sheets | MDN
The :where() CSS pseudo-class function takes a selector list as its argument, and selects any element that can be selected by one of the selectors in that list.
developer.mozilla.org
2. 본문 페이지에서 변경하기
<div class="info-item">
	<h1 class="article-title">
		티스토리 스킨 (4. Grayscale Line Skin) 유료 배포
	</h1>
</div>
<script>
const wlp = decodeURI(window.location.pathname);
document.addEventListener("DOMContentLoaded", function() {
if ( wlp === "/218" ) {
// 여러개면 wlp === "/218" || wlp === "/219" ,,,
const articleTitle = document.querySelector(".article-title");
if ( articleTitle ) {
articleTitle.classList.add("parti");
//article-title에 "parti" class 추가 생성
}
} //f8b878
});
</script>wlp 부분에는 글 주소를 적어주시면 됩니다.
window.location.pathname은 /부터 문자열이 시작되므로 슬래쉬 꼭 넣어주셔야 함!
.article-title.parti { color:red; }
| 특정 카테고리에 class 추가하기
1. 특정 카테고리 페이지에서 body에 class 추가하기
<script>
const wlp = decodeURI(window.location.pathname);
document.addEventListener("DOMContentLoaded", function() {
	const bodyCategory = document.querySelector("#tt-body-category");
	if (bodyCategory && wlp === "/category/카테고리이름") {
		bodyCategory.classList.add("name") //알맞게 변경
	} //f8b878
});
</script>
2. 본문 페이지에서 자동으로 body에 카테고리class 추가하기
<script>
document.addEventListener("DOMContentLoaded", function() {
	function checkCategory() {
		const bodyPage = document.querySelector("#tt-body-page");
		const categoryElement = document.querySelector(".article-cate a"); //치환자를 포함한 태그명, 알맞게 변경
		if (categoryElement) {
			const category = categoryElement.textContent.trim();
			const categoryParts = category.split("/");
			let categoryName = categoryParts[categoryParts.length - 1];
			if (categoryParts.length === 1) {
				categoryName = categoryParts[0];
			}
			if (bodyPage && categoryName) {
				bodyPage.classList.add(categoryName);
			}
		}
	}
	checkCategory(); //f8b878
});
</script>
- 하위 카테고리가 있으면 상위 카테고리는 생략된 채 하위 카테고리가 네임으로 추가됩니다.
ex. https://~.tistory.com/category/wow/jjang => jjang
(응용해서 카테고리별 본문 디자인 다르게 적용 가능함, 목록 구성 - 내용만 보기:인덱스/태그/검색 화면 제외)
[☆##_article_rep_category_##] 해당 치환자가 스킨 html 내부에 존재해야 합니다.
(참고) https://tistory.github.io/document-tistory-skin/contents/post.html
※ 사용 중인 스킨에 없다면 <s_article_rep>을 찾아서 <s_article_rep> 바로 밑에 <div stlye="display:none" class="article-cate"><a>[☆##_article_rep_category_##]</a></div> 추가하면 됨. (☆은 삭제)
모든 스크립트를 넣으실 거면
document.addEventListener("DOMContentLoaded", function() { ~ }) 하나의 리스너 안에 밀어 넣고
const wlp = decodeURI(window.location.pathname);은 하나의 전역변수로 설정하세요